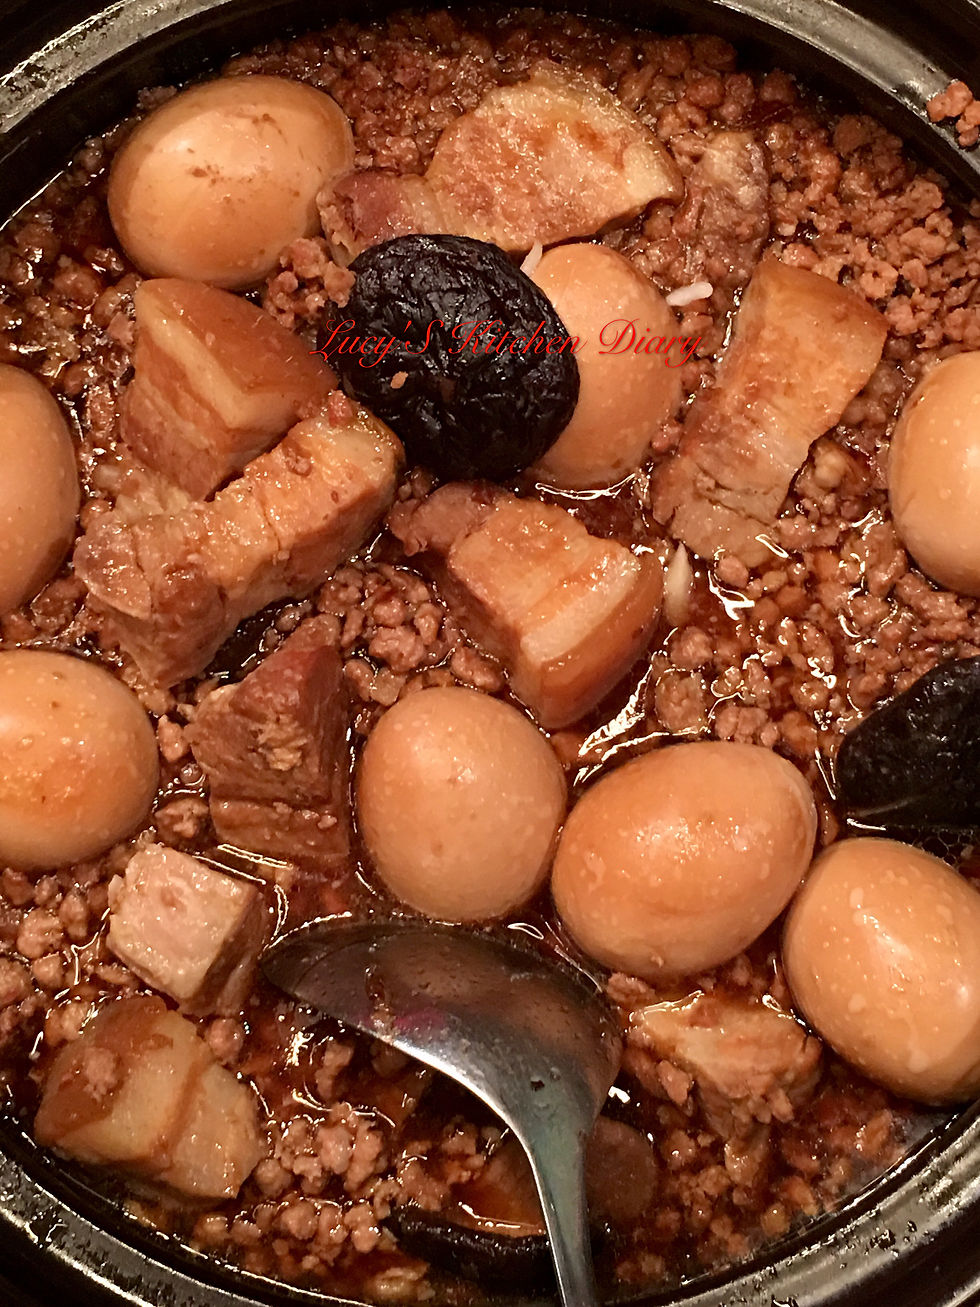
My Grandma's Ru Rou Fan 我家阿媽的魯肉飯
- Oct 14, 2016
- 9 min read
My kids visited Taiwan with me this summer 2016. We had tried so many lu rou fan everywhere in Taiwan, but my kids kept saying my lu rou fan is better. Of course, I was very pleased as a mom. The truth is, is my lu rou fan really that amazing ? Well, most of our favorite food is because we are so used to it since we were a kid, and were affected by our environment and life style. Then, our brain just simply recognizes all of theses food's flavors and textures and continues to feel familiar, and satisfied about it.
Other times, our favorite food comes with the great joyful moment of our life. I remember my grandma would make this dish in the late morning around 10:00 o'clock. The aroma would all over the house. My little brother would check with my grandma so many times to ensure when this dish could be done. But, I always knew the hard broil eggs that I adore would taste better day after day, so I never pushed. I even bought those eggs when I went back to the dormitory when I was in high school. As I got married and moved to America. More than 10 years, I've been trying so many ingredients, different spices, all technique to get closest I can to my grandma's taste. One day, I suddenly realized my grandma wasn't a chef, wasn't a scientist either, but she surely was a very delicate woman and cooked with all her love. So I practiced again and kept the ingredients simple. I imagined what a Taiwanese grandma would do. Yes, I got the flavor back and I would love to share all these 10 years of my experiments with you guys.
Get coastly ground pork so the meaty texture will remain after it cooked. American super market usually sell fine grounded pork. I would try to ask butcher to help me, but most of time they just couldn't get it right. Therefore, I usually get it from Chinese supermarket.
A great lu rou needs enough fat to make the sauce smooth, but if it's too much oil this sauce will become very greasy. That's why I use 90% of grounded lean meat my little boy mix with pork bellies' fat for my big boy. ( my grandma did the same too ) Please keep the pork skin on. The collagen from the pork skin would give the sauce that glosses tastes, help to glossy the flavors stay in your mouth a little be longer.
You can use 70%-80% lean grounded pork, add few pieces of pork skin. It would be awesome still. Pork skin are difficult to chop into diced, so you can cut it after it cooked. I personally adore this layers texture with hardy lean meat, soft fat, and al-fends pork skin texture, very bit is like a fun party in my mouth !
All the ingredients need to be soaked in the "sauce". If you have too much fat flow on top of sauce, not just your dish is getting too greasy, but all the ingredients will lose the chance to absorb all the flavors and color too.
How do you get that gorgeous dark brown sauce color? Every soy sauce come from all different flavor and colors. Just get a simply natural made, affordable brand that you feel like would be good enough. For the darker brown color without many days of reheating, just simply add 1 teaspoon of more dark ( old ) soy sauce will probably do the trick.
My grandma's lu rou fan ingredients:
2 pounds of 90%costly grounded pork.
2, 1 1/2 or 1, 2-3 thick inches of pork bellies with skins. Choose the lean and fat meat evenly layer will be better on the texture.
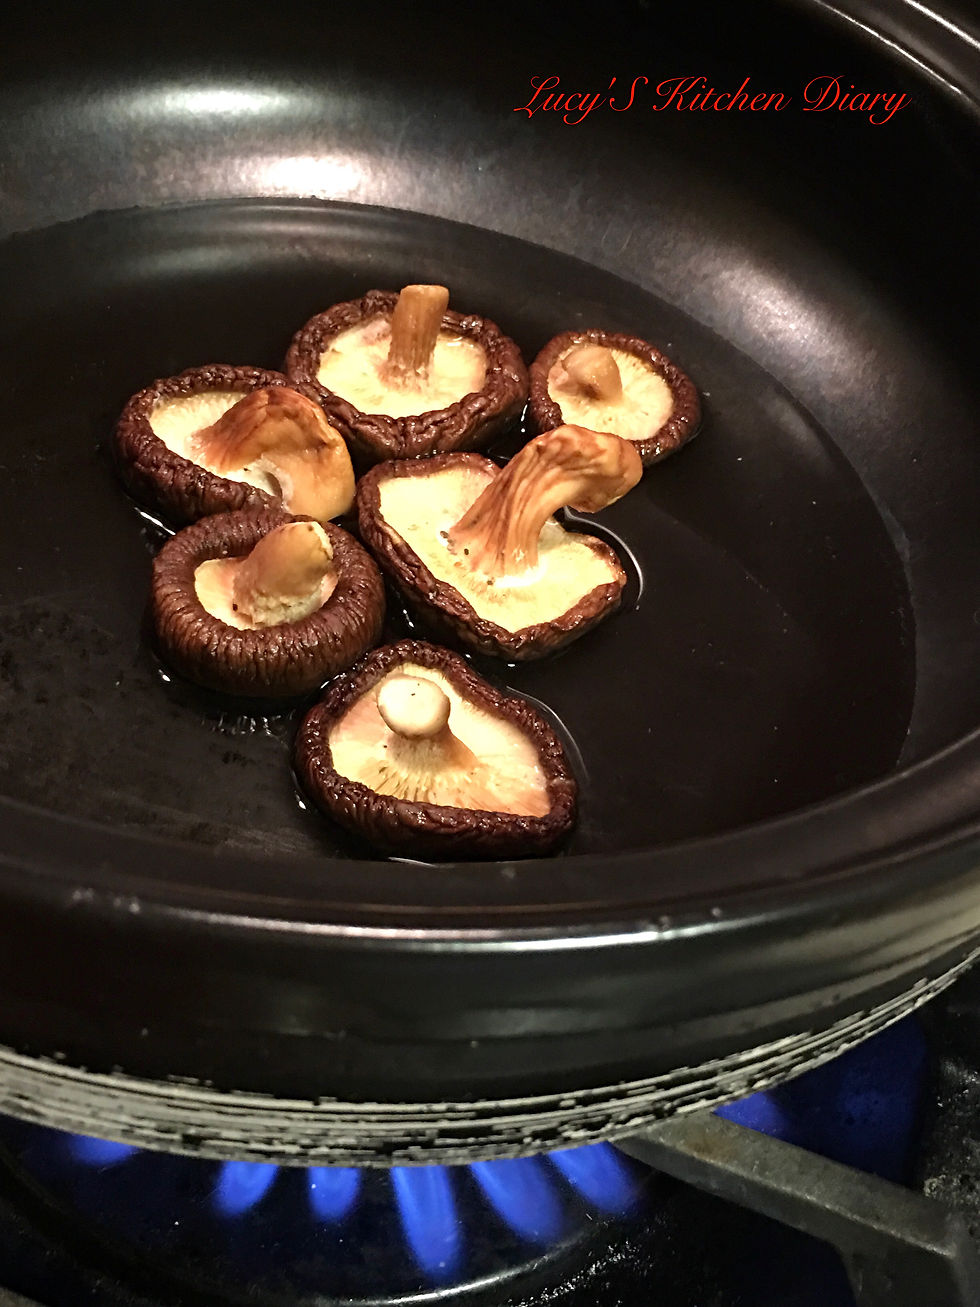
6 dry mushrooms rinsed.
8 room temperature eggs.
1/2 cup of fried shallot minded it in the plastic bag with rolling pin.

6. 2 thin slices of gingers.
7. 1/2 cup of soy sauce.
8. 1/2 cup of sake or light rum will do.
9. 1 chili seeded.
10. 1 tablespoons of sugar.
11. White peppers as you like.
Cut each of the pork bellies into 3 large pieces. Separate the pork bellies and room temperature eggs in the steam pot and cook it though. Discard the extra residue from pork-bellies, soak the boiled eggs in the cold water, then clean the shells and get ready to join the ground pork.

Meanwhile, use 1 1/2 cup of cold water, add in the dry mushrooms in the pot , bring it to broiled, then gradually add in the ground lean pork to cool it till the color had been changed to white . * When the outside of meat had cooked it would catch the color better than row. But don't burn the lean meat or it would taste tough. If you used fatter ground pork, you can sauté them a little bit drier. When the fat render out, it would take the sauce back in. It would taste more delicious without fatty texture.

Following the soy sauce, wine, gingers, fried shallots, sugar, chili, pork bellies, hard boiled eggs, white pepper, then pour in the water just enough to cover all ingredients. High heat bring it to boiled then change to low, keep the small bubbles boil point in the pot, cook for 45 minutes. I prefer my pork bellies with a bite of texture. Therefore I don't need to put on the lid during the cooking process. If you love the soft and tender texture, cover with lid. Then the temperature is not just getting into the meat from outside. It would be stimulate from inside out also.

Take out the pork bellies first then let it cool down about 15 minutes. Even pieces of meat will be unified when you cut it at this stage now. Put it back to pot, continue to cook it and 30 minutes, shut off the heat. This way all the ingredients would all marry together as one, colors would be pretty too. Please avoid the high heat to dry out the ground pork. Keep it in the fridge after it is chilled. It's all the time of soaking now. * I would freeze this lu rou in the divided box for easy use after microwaved.


I don't worry about the fragrance but use the oil to bring out the flavors, because this dish requires the long time cooking process, and the flavor will have enough time to release and come together. I don't need extra oil for the sauté aromatic ingredients either. I won't, like my grandma did this dish in the morning and served for lunch. I would cook this dish after dinner and my kids will expect that aromatic from the pork fat, and sauce on top of hot steamy rice or noodles just like my brother and me when we were kids. Every bite is absolutely joyful. I know you must have your family secret ingredients or different way to make this dish, but this in my grandma's flavor. I want to keep this tradition and continue her love and won't change anything at all. Someday when I am gone, my love could be still just like the this lu rou fan easy to be with and warm up my kids hearts, accompany with them, give my kids energy and strength with full of hopes.


2016年的夏天我帶著孩子們訪臺. 我們嚐遍了台灣各地許多的魯肉飯, 然而孩子們總是說我的魯肉飯還是比較好吃. 身為媽媽的我當然開心囉!可是我的魯肉飯真的有這麼好吃嗎?其實我們喜歡的食物都是從小養成的, 而且因環境和生活方式的不同而有所影響. 然後我們的腦袋就簡單的記錄下那份食物的味道和口感, 並且持續的感到熟悉及滿足.
另外一方面, 我們喜愛的食物它來自我們過去人生中美好的片段. 我記得我阿媽總是會在接近午時約早上十點多左右開始燉煮這道菜. 滷肉的香氣會充滿整個屋子. 老弟會不斷的和阿媽確認這到菜什麼都候才會好. 而我總是知道, 我喜歡的滷蛋經過一天又一天的加熱後會更佳, 所以我一個點也不著急. 我在高中住校時期甚至還帶著些滷蛋一起回學校宿舍呢!自從我結婚搬至美國居住後, 我花了近十年的時間用不同的材料, 香料, 和不同的烹飪的手法. 就是不能接近阿媽的味道. 有一天我突然想通了, 阿媽不是專業廚師也不是科學家, 但她到是一位很細心的女人, 簡單的用愛做著菜. 所以我再開始練習, 將材料簡單化, 想像阿媽會怎麼做這道菜. 太好了!!! 我找回了阿媽的味道, 而且我很願意和你分享我那十多年來的經驗.
採購粗的絞肉, 所以在烹煮的過程當中才能保持肉的咬感. 美國超市大部分是細絞肉. 我會試著請屠夫幫我的忙, 但大部分的時間他們還是沒搞對. 所以我改在中國超市購買.
一份好吃的魯肉要有足夠的油脂才會滑口, 但如果太多的油脂便顯得油膩了. 這就是為什麼我用小兒子90%的瘦絞肉, 配上大兒子喜歡的五花肉. ( 我阿媽也是這樣做的喔! ) 請保留豬皮的部分. 它具有的膠質能帶來黏密亮亮的口感, 就能幫助好味道在嘴裡停留更長的時間.
你也可以用70-80的粗瘦的豬絞肉, 再加上幾塊豬皮. 豬皮很難切的,所以可以先煮好之後再切丁. 我個人特愛這有層次的口感, 紮實的瘦肉, 軟嫩的肥肉, 和帶點Q度的豬皮. 每一口都像是個很有趣的派對在我的嘴裡.
所有的材料必須要能浸到"醬汁" 裡. 假使有太多的油浮在醤汁上, 不僅會顯得油膩, 而且食材就失去了吸收味道和醬色的機會.
如何做出那漂亮的醬色呢?每個醬油都有自己的風味和顔色的差異. 採買天然釀造, 價格合理的就可以了. 至於那動人的顏色如果你沒能等上持續幾天後不斷的加熱. 簡單的加入1小匙或更多一點點的老抽醤油就可以變魔法了.
我家阿媽的魯肉飯材料:
2 磅90%瘦的粗豬絞肉.
2 條1 1/2 或是1條2-3 英吋厚的帶皮五花肉. 選擇肥瘦均勻分布的, 口感較佳!
6 顆香菇洗淨.
8 顆室溫的蛋.
1/2 杯的油蔥放入塑膠袋裡用桿麵棍碾碎.
2 片薑片.
1/2 杯的醬油.
1/2 杯的清酒或淡色蘭姆酒都可以.
1 條辣椒去仔.
1 大匙的糖.
適量白胡椒.
將五花肉切成三段. 把五花肉和蛋各別放入電鍋裡蒸熟. 捨去五花肉的殘留物. 蒸熟的蛋泡在冷水裡, 然後清去蛋殼.
蒸肉的同時, 用1 1/2 杯的冷水, 加入香菇在鍋裡煮沸, 然後 ”逐漸” 地加入瘦絞肉直到變白色為止. * 當外表的肉熟成時會比生肉更容易上色. 但是別炒焦了瘦肉, 不然肉是會變硬的. 如果你用的是肥一點的絞肉, 你可以炒乾一些. 當油脂釋放出之後, 它便會吸回醬汁. 味道會更佳, 而且少了肥肉的口感.
隨之加入醬油, 老油, 酒, 薑, 紅蔥酥, 糖, 辣椒, 五花肉, 水煮蛋和白胡椒. 然後注入水剛好蓋過食材. 大火煮沸後改小火, 鍋內保持沸騰的小水泡的沸點, 煮約45分鐘. 我自己喜歡五花肉帶點咬感, 所以在燒的過程當中無須加蓋. 假使你愛的是軟嫩的口感, 那麼烹煮的過程中就放上鍋蓋吧. 那麼溫度不僅從外面煮至肉裡頭, 而且溫度的循環也能從肉裡面傳至外面.
先取出五花肉放涼約15分鐘, 這時切出來的肉每一塊都很工整. 再放入鍋裡, 慢火再燒個30分鐘後熄火. 這樣一來所有的食材, 調味料才會和醬汁結合為一, 顏色也才會漂亮. 請避免大火而把絞肉燒柴了. 冷卻後冷藏, 接下來就是浸泡的功夫了. * 我會把部分的滷肉分裝小快凍起來, 微波解凍, 方便食用.
我不擔心爆香的問題, 因為這道菜需要長時間的烹煮味道一定會充分釋放和結合的. 而且我也不需要爆香所需要多餘的油脂. 我也沒像奶奶趕在早上做, 中午上菜, 而是晚餐後慢慢熬煮這滷肉讓香氣迎繞全家. 而我的孩子們會像我和我弟小時候一樣充滿期待那碗香鹹的豬油及醬油香氣拌著熱騰騰的白飯或麵條. 每一口都是絕對的幸福. 我知道你一定也有你家的秘方和不同的做法, 但這是我阿媽簡單的好味道, 我想就這樣不變的把這份愛傳承下去. 有一天我不在人世了, 我的愛能像這碗簡單又動人的滷肉飯一樣溫暖我孩子的心房, 可以一直陪伴著他們, 給孩子們充滿希望的力量和勇氣.
Comments